LED light bulb troubleshooting/repair
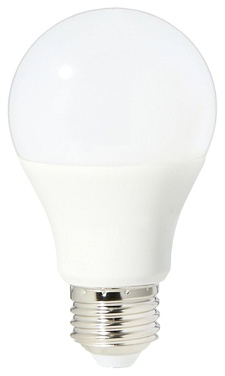
Although LED light bulb manufacturers often guarantee their products to last as much as 5-10 years, a quite big percent will fail even after a few months, especially the ones made by no-name brands. The good news is, that they are quite easy to repair, or, if repair is not possible, you can reuse (at least) the LEDs for various hobby projects.
The most common fault: open-circuited LED capsules
The most common fault in Led light bulbs (> 90% of cases) are open-circuited LED capsules. There are 10-20 LEDs in each bulb and they are usually connected in series, so if one of them goes open, none of them will light.
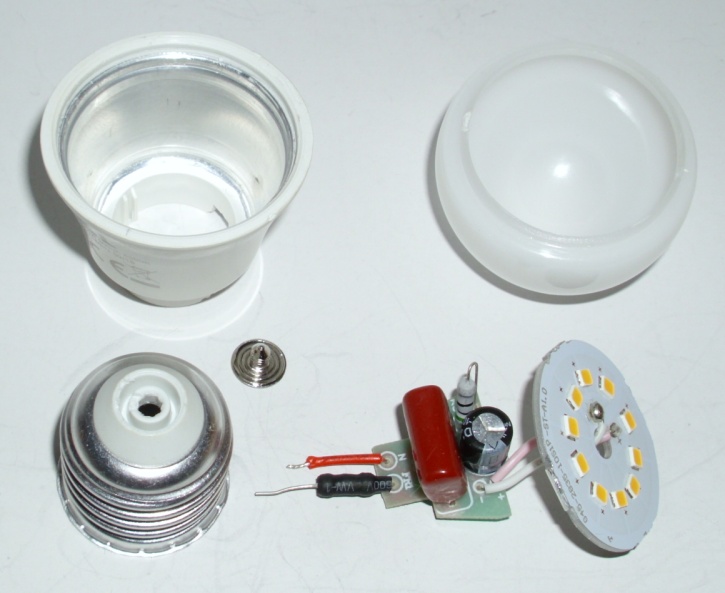
To test the LEDs you must open the light bulb. Usually there is a plastic dome glued to the base of the bulb. Carefully insert a knife or a flat screwdriver between the dome and the base and go all around until it pops off. Some domes come off more easily, for others you must spend quite some time loosening the glue.
When the dome comes off, inspect the insides. If there are no visible blown-up components, burn marks, etc., you can start testing the individual LEDs.

Testing LED capsules
The easiest and most accessible way to test a LED is with a small 9V battery or a 9-24V wall adapter connected in series with a few kilo ohms resistor. DO NOT connect the power source directly on the LEDs, as it will permanently damage them! I usually use a higher (10k-20k) resistor in series to avoid the blinding effect. Also with a high enough resistor you can observe if a capsule has one, two or more LEDs.
If you found an open LED, take it off and solder in a replacement (a new LED capsule or one from a similar donor bulb). In most cases, especially with LED bulbs that have real constant current regulators, you can simply bridge it and it will function quite well, albeit slightly less brightly.
(Note that LEDs can also go short circuited, and if it's the case, especially in cheaper lights, there will be a chain reaction, and all will blow up, synchronously with the current regulator and diode bridge.)
Further troubleshooting
If all LEDs test good, the next step is to disassemble the bulb further, to inspect the current regulator PCB. If there are screws on the LED PCB, take them out. If not, the LED PCB will usually pop off from the base if you gently loosen it with a knife on the sides. You must pull out the bottom pin on the AC socket. This usually comes out without problems. The upper part of the socket must come off too, as it holds the other wire going to the PCB.
When the PCB is freed, you can test every component. First should be the fusible resistor/fuse at the entry, then the rectifiers, capacitors, etc. Most repairs at this stage require advanced knowledge in electronics, so if you're a beginner, stop here.
I've seen defective/flickering bulbs suffering from a loosened contact at the AC socket, so if you're lucky, fixing only this will resurrect the lamp to life.
Safety considerations
Almost all LED light bulbs contain non-isolated power supplies, that means the lower voltage parts could have the line phase on it. You should do all measurements on the disconnected bulb, but not before making sure that all large capacitors are fully discharged. If you must do measurements on the live circuit, always use an isolation transformer.
Repurposing the LED PCB
If the current regulator is defective and you're in the DIY mood you could repurpose the LED PCB. If you would like to feed the LEDs from a lower voltage, for example from a 12V car battery, you should take into account the substantial voltage drop (~3V) on each LED. Most LED capsules contain multiple internal discrete LEDs, so you can only connect a few (1-4) of them in series so the total voltage drop don't exceed your source's voltage.
The easiest way is to cut the wires on the PCB at certain points and solder a ground and current limiter resistor to each group, then connect the chains in series. It's also advisable to operate the LEDs at slightly less than the rated current.